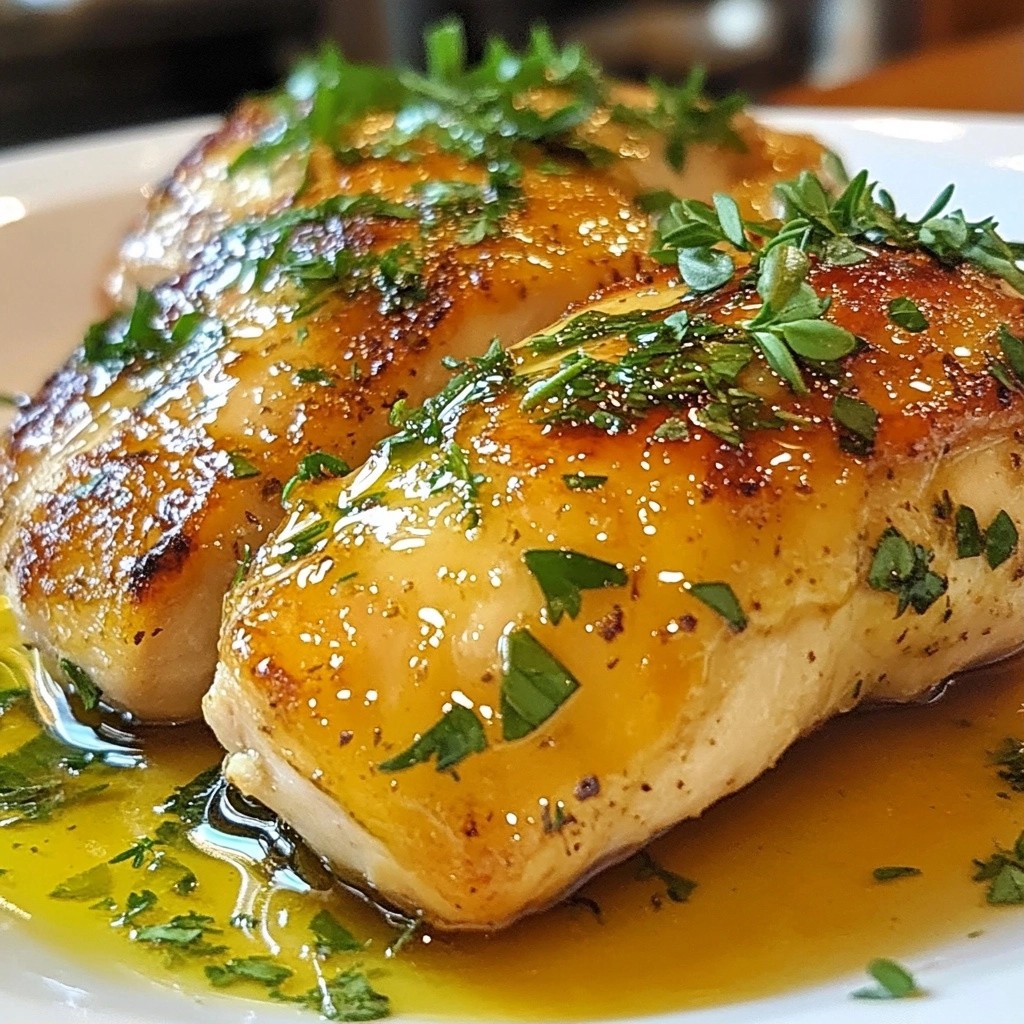
Cooking a gourmet meal doesn't have to take hours. Today, I’m excited to share my Herb Crusted Tilapia recipe that’s not only fast but also bursting with flavor. With fresh herbs and a crispy topping, this dish is sure to impress. In just 30 minutes, you can serve a dinner that feels fancy but is simple enough for any weeknight. Let’s dive into the ingredients and get cooking!
Why I Love This Recipe
- Fresh and Flavorful: The combination of fresh herbs and zesty lemon elevates the taste of the tilapia, making each bite a burst of flavor.
- Quick and Easy: This recipe takes only 30 minutes from start to finish, perfect for busy weeknights or a quick dinner option.
- Healthy Choice: Tilapia is a lean source of protein, and with the addition of fresh herbs, this dish is both nutritious and delicious.
- Versatile Presentation: Serve it on a bed of vegetables or a light salad, and garnish with lemon wedges for a beautiful and appealing plate.
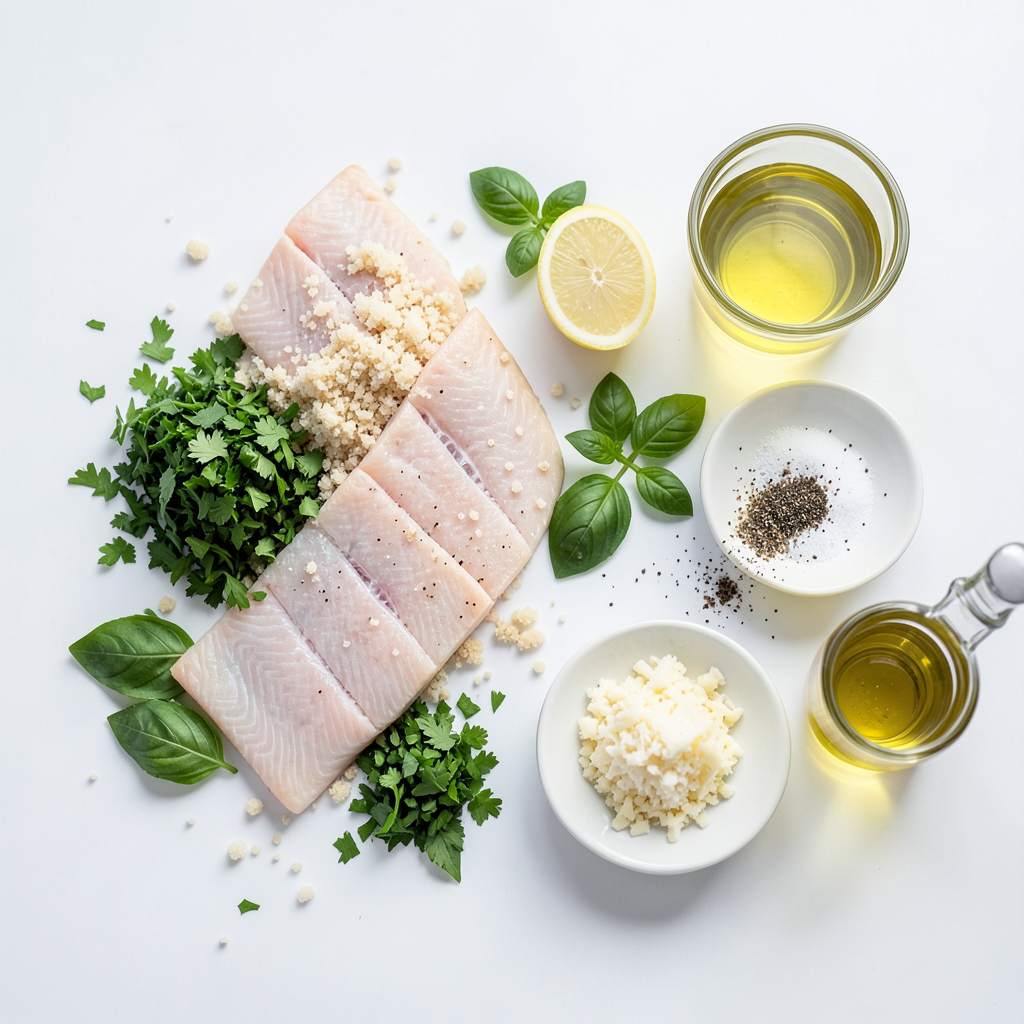
Ingredients
Main Ingredients for Herb Crusted Tilapia
To make this delicious dish, you need:
- 4 tilapia fillets
- 1 cup breadcrumbs (preferably panko)
- 1/4 cup fresh parsley, chopped
- 1/4 cup fresh basil, chopped
- 2 cloves garlic, minced
- 1 lemon, zested and juiced
- 1/2 teaspoon salt
- 1/2 teaspoon black pepper
- 1/4 cup grated Parmesan cheese (optional)
- 2 tablespoons olive oil
These main ingredients create a tasty and light meal that packs a punch. The tilapia fillets serve as a great base, while the herbs bring bright flavors.
Optional Ingredients for Enhanced Flavor
You can add extra ingredients for more depth:
- 1/2 teaspoon red pepper flakes for heat
- 1/4 cup sun-dried tomatoes, chopped
- 1 tablespoon capers for a zing
These optional items can elevate your meal. Red pepper flakes add some spice, while sun-dried tomatoes bring a sweet and tangy note.
Substitutions for Dietary Preferences
If you have dietary needs, here are some easy swaps:
- Use gluten-free breadcrumbs for a gluten-free meal.
- Swap tilapia with salmon or cod for different fish.
- Replace Parmesan with nutritional yeast for a vegan option.
These substitutions keep your meal tasty while meeting your dietary needs. Enjoy experimenting with different flavors!
Step-by-Step Instructions
Preparing the Oven and Baking Sheet
Start by preheating your oven to 400°F (200°C). This temperature helps the tilapia cook quickly and evenly. While the oven heats, line a baking sheet with parchment paper. This step keeps the fillets from sticking and makes cleanup easy.
Mixing the Herb Breadcrumb Mixture
In a mixing bowl, combine the breadcrumbs, chopped parsley, chopped basil, minced garlic, lemon zest, salt, and pepper. If you love cheese, add the grated Parmesan too. Mix everything well until the herbs are spread out evenly. This blend adds great flavor to the fish.
Assembling and Baking the Tilapia Fillets
Lay the tilapia fillets on the prepared baking sheet. Drizzle olive oil over each fillet. Then, squeeze fresh lemon juice on top for extra zest. Press the herb breadcrumb mixture onto each fillet. Make sure they are well covered. This crust will turn golden brown as they bake. Place the baking sheet in the oven and bake for 12-15 minutes. The tilapia should be opaque and flaky when done.
Tips for Checking Doneness
To check if the tilapia is cooked, use a fork. Gently flake the fish at the thickest part. If it flakes easily and is white, it’s done. If it still looks translucent, give it a few more minutes. Always trust your instincts; fresh fish cooks fast!
Tips & Tricks
Timing Tips for Quick Meal Prep
To make this meal in just 30 minutes, prepare your ingredients first. Chop the herbs and garlic before starting. Preheat your oven while you mix the crust. You can save time by using panko breadcrumbs; they crisp up quickly. Place the tilapia in the oven as soon as you finish coating it. This keeps everything moving smoothly.
Best Practices for Crispier Crust
For a great crust, use panko breadcrumbs. They give a light and airy texture. Drizzling olive oil on the tilapia helps the crust stick. After pressing on the herb mix, let it sit for a minute. This helps the crust adhere better while baking. Bake the fish at 400°F for a golden finish. Keep an eye on it; the crust should be crisp and the fish tender.
How to Choose Fresh Herbs for Maximum Flavor
Fresh herbs make a big difference in taste. Look for herbs that are bright and fragrant. Parsley should be vibrant green, while basil should look fresh and slightly glossy. When you chop them, do it just before use. This keeps their flavor strong. If you can, grow your own herbs. Fresh herbs from your garden will be the best!
Pro Tips
- Fresh Herbs Matter: Always use fresh herbs for the best flavor. Dried herbs can be used in a pinch, but they lack the vibrant taste of fresh ones.
- Perfectly Cooked Fish: To ensure your tilapia is perfectly cooked, check for an internal temperature of 145°F (63°C) and that it flakes easily with a fork.
- Crispy Crust: For an extra crispy crust, broil the tilapia for the last 2-3 minutes of cooking. Keep a close eye to prevent burning!
- Flavor Variations: Experiment with different herbs and spices in the breadcrumb mixture, such as dill, thyme, or a pinch of cayenne for a kick.
Variations
Alternative Proteins or Fish
You can replace tilapia with other fish like cod or halibut. Both options work well with the herb crust. They have a mild flavor that complements the herbs. If you prefer chicken, use thin chicken breasts. Just adjust the cooking time to ensure they cook through.
Vegetarian Version with Cauliflower Steaks
For a vegetarian twist, use cauliflower steaks instead of fish. Cut a cauliflower head into thick slices. Follow the same steps for crusting and baking. This version keeps the same great flavors. Bake until the cauliflower is tender and golden brown.
Spicy Herb Crusted Variation
Want some heat? Add crushed red pepper flakes to the herb mix. This will give your dish a spicy kick. You can also use spicy mustard instead of lemon juice. Just spread a thin layer on the fish before crusting. This variation adds a fun twist to the classic dish.
Storage Info
Best Practices for Storing Leftovers
Store leftover herb crusted tilapia in an airtight container. This keeps the fish fresh. Place it in the fridge within two hours of cooking. It can last up to three days. If you want to keep it longer, consider freezing.
Reheating Tips for Maintained Texture
To reheat tilapia, use the oven instead of the microwave. Preheat the oven to 350°F (175°C). Place the fish on a baking sheet and cover it with foil. Heat for about 10 minutes. This method keeps the crust crispy and the fish moist.
Freezing Instructions for Meal Prep
You can freeze cooked tilapia. First, let it cool completely. Wrap each fillet in plastic wrap. Then, place the wrapped fish in a freezer bag. It can stay frozen for up to three months. When ready to eat, thaw in the fridge overnight before reheating.
FAQs
Can I make this recipe gluten-free?
Yes, you can make this recipe gluten-free. Use gluten-free breadcrumbs instead of regular ones. You can find these at most grocery stores. Just check the label to ensure they meet your needs. This swap keeps the dish tasty and safe for gluten-free diets.
What side dishes pair well with herb crusted tilapia?
Herb crusted tilapia goes well with many sides. Here are a few ideas:
- Steamed asparagus
- Light green salad
- Roasted vegetables
- Quinoa or rice
- Mashed potatoes
These sides add balance and flavor to your meal.
How to make herb crusted tilapia without breadcrumbs?
You can skip the breadcrumbs for a lighter version. Instead, use crushed nuts or seeds. Almonds or walnuts work well. Just grind them into small pieces. Mix them with herbs and seasonings to create a crust that is just as tasty.
Can I use dried herbs instead of fresh?
Yes, dried herbs can work too. They are convenient and have a strong flavor. Use about one-third of the amount of dried herbs compared to fresh. For example, if a recipe calls for one tablespoon of fresh herbs, use one teaspoon of dried. This keeps the taste bold.
How to tell when tilapia is fully cooked?
Check tilapia for doneness in a few ways:
- The fish should be opaque and flake easily with a fork.
- The internal temperature should reach 145°F (63°C).
- If it is still translucent, it needs more time. Keep cooking and check again.
Herb crusted tilapia is easy and delicious. We covered essential ingredients, step-by-step instructions, and helpful tips. You learned how to enhance flavors and make it gluten-free if needed. With variations like vegetarian options and spicy twists, there's something for everyone. Proper storage ensures your leftovers taste great. Cooking this dish can be fun and rewarding. Enjoy making it your own, and share it with friends and family. Get ready to impress with each flavorful bite!